github+hexo部署博客
github+hexo部署博客
1. 部署前准备
1.1 下载 git Git - Downloading Package 镜像下载
1.2 下载 node.js Download | Node.js
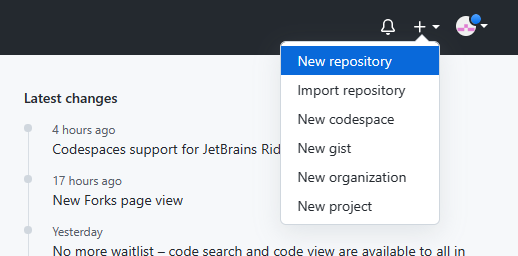
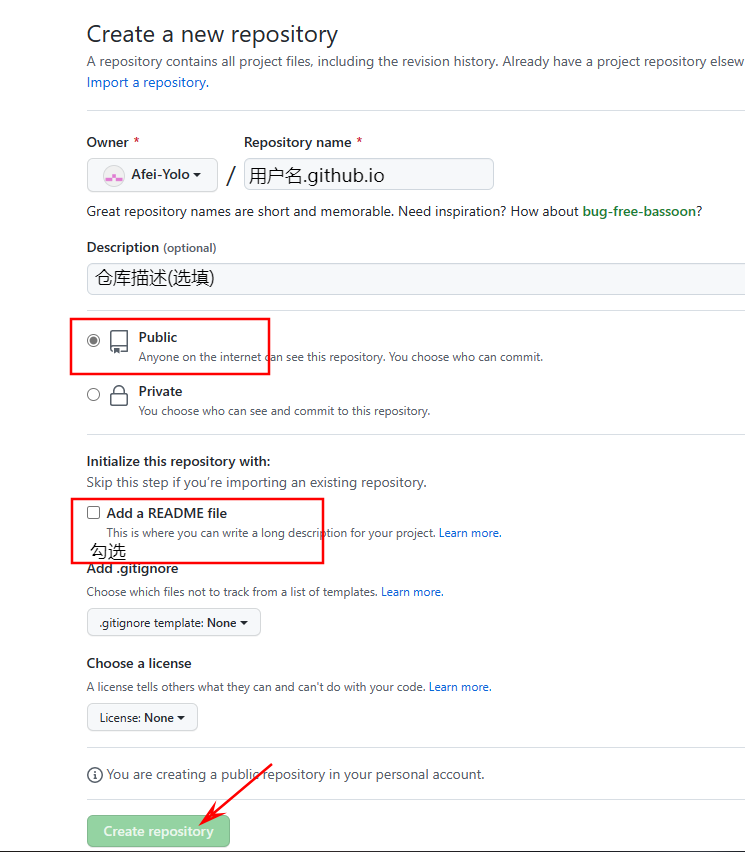
1.3 GitHub新建仓库
1.4 git与GitHub同步:
1 | git config --global user.name "你的GitHub用户名" |
生成ssh密匙文件:
1 | ssh-keygen -t rsa -C "你的GitHub注册邮箱" |
然后直接三个回车即可,默认不需要设置密码.
然后找到生成的.ssh的文件夹中的id_rsa.pub密钥,将内容全部复制.
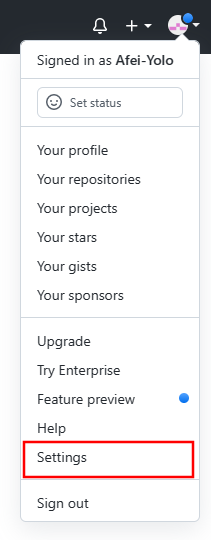
打开GitHub_Settings_keys 页面,新建new SSH Key.
在Git Bash中检测GitHub公钥设置是否成功,输入 ssh git@github.com.
1.5 安装hexo
1 | npm install -g hexo-cli |
找到博客目录,进入右键git bash here,输入:
1 | hexo init |
(这里的命令是作用在刚刚创建的Blog文件夹中)
到此,博客基本框架建立完毕。
查看本地服务器上的博客:
1 | hexo g ----生成静态网页 |
2. hexo与GitHub关联
打开博客目录下的_config.yml配置文件,修改/添加:
1 | deploy: |
3 部署到github仓库
3.1 安装git部署插件
1 | npm install hexo-deployer-git --save |
3.2 部署
1 | hexo clean -----清除缓存文件 |
3.3 查看博客
网址:https://(GitHub用户名).github.io/


